Sexy Black and Gold

Sexy Black and Gold

Black and Gold is Totally Sexy

And it is always in fashion.

Black and Gold is a classic luxury combination.  The LBD with a gold necklace and earrings is always a winner. Like this iconic picture of Coco Chanel.

th-1

It will come as no surprise that Janet from The Empty Nest has just done a black and gold furniture piece with a totally sexy look.

Screen Shot 2016-04-09 at 7.44.12 AM

She started with a simple Art Deco. cabinet. A perfect piece to use this combination on since black and gold are very Art Deco. Lovely with great form and style but maybe a little boring because of the color.

Screen Shot 2016-04-09 at 7.45.45 AM

The next step was applying the appliques and painting the entire piece with Annie Sloan Chalk Paint in Graphite. Then wax with clear wax.

Screen Shot 2016-04-09 at 7.44.27 AM

Finally, gold leaf was applied to the Efex. To apply the gold leaf or foil just paint the efex with gold size and then when tacky layer the leaf on top. So easy and so sexy.

Screen Shot 2016-04-09 at 7.45.23 AM

 It was so simple and easy and just like the LBD…. so sexy.

If you are interested in more of Janet creative work, look at these paper roses. Janet is running a class on April 16th… so if you near Warrenton Virginia check it out.

Screen Shot 2016-04-09 at 7.42.43 AM


French Style From New Zealand – Part 3

French Style From New Zealand – Part 3

French Style From New Zealand.

After a bit of a break I present the final leg of the tour of my friend Sharon’s lovely home….

The last piece that she shared with me was perhaps my favourite.  And – as before – it’s because I love to see the creative ways that people use our Efex Appliques.


This hutch already had some lovely detailing – the carved corners, the pediment along the head and foot, the panelling on the doors — but Sharon felt it was missing that something extra. Using Scroll SC02, she added a more raised detail to the piece, elevating it above the flat-style carvings on the original and complementing the style perfectly. Again…a simple moulding used to great effect.


Here you can see the combination of the original flat carvings with the raised detail provided by the Efex mouldings.

Thank you so much for inviting me into your home and sharing with me some of the beautiful work that you’ve done.

Kristen :)

Shabby Chic – Before and After

Shabby Chic – Before and After

At Maine Country Home we love playing around in the studio.  It gets this creative, buzzing energy flowing around the store that’s infectious. We’ll get the person who has a similar piece of furniture or accessory in their home and can finally see how to recreate it. We had a stunning transformation during our open studio time about a week ago that we just had to share.

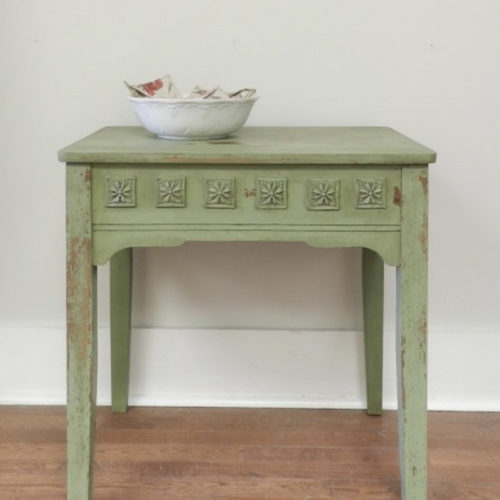
Maggi brought in a plain, unimpressive end table to open studio time and decided to try her hand at Miss Mustard Seed Milk Paint. She had always wanted to try it but needed some guidance on the process

Boring, brown, damaged, wood in need of love. We opted for a 50/50 mix of Luckett’s Green and Kitchen Scale. They’re both beautiful colors, but together they just look amazing! Luckett’s Green is a nice spring green, and mixing in the Kitchen Scale made it a bit bluer while still keeping the green vibe.

You can’t see it, but the table had a faux drawer pull on the front. Why someone thought this was a good idea is beyond us. Just put a drawer in people! Don’t be faking us out with all this hardware that doesn’t do anything! So we decided to completely remove the offending handle. Then we were left with two holes…hmm…

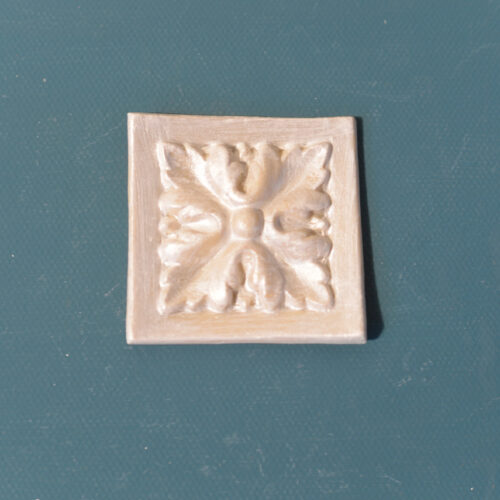
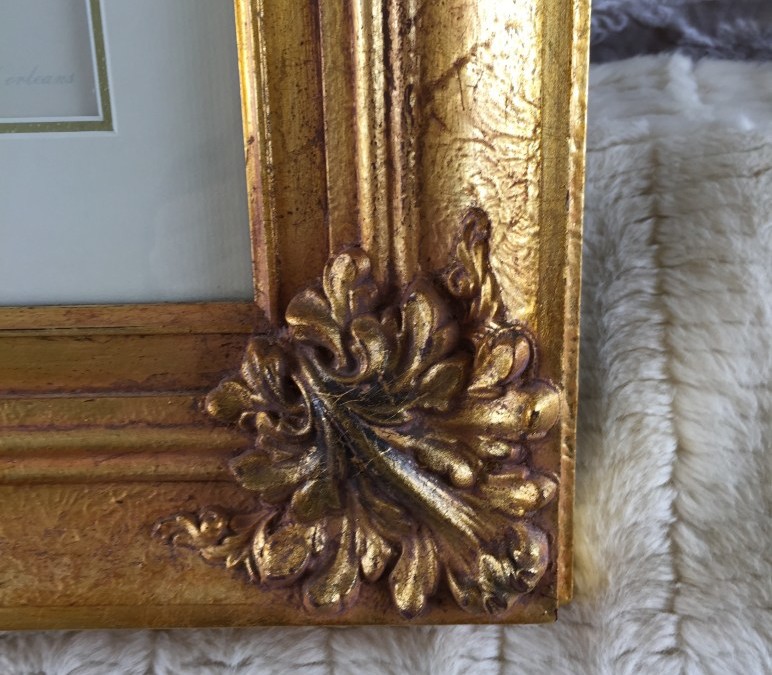
Rosette R108 by Efex

You know us, easy fix! Six of our R108 Efex squares not only covered up those horrid holes, but it also made the table look super cool and customized.

Milk Paint does this crazy thing where if it doesn’t have a surface to absorb into it will start to flake and chip off as it dries. It was exactly the look we were going for, so we were super excited when we saw the chipping beginning! It, however, kept chipping, and chipping, and chipping…We gritted our teeth and waited it out. It had to stop chipping eventually!

Maggi finished the table with some Antiquing Wax to bring out the details, especially on the Efex.

We absolutely love the complete transformation of this end table. The amount of chipping was perfect, the color was to die for, and the Efex embellishments are so darn cute. What do you think?


French Style From New Zealand – Part 2 of our series

French Style From New Zealand – Part 2 of our series

French Style From New Zealand

French Style From  New Zealand – part 2 of our series. One of the most lovely homes and tours. This post originally appeared on Efex Decorative Mouldings in New Zealand.  You can read Part 1 here.

A Blast from the Past, Part 2


Next up Sharon shared with me what was a simple frame that is now anything but! She has used gilding expertly on the pieces she’s created, but she also stressed how easy it is….so if you’re thinking “I love the look but could never do that” then maybe think again.IMG_4517

This frame uses our R3 Rosette, but with the very bottom of the moulding trimmed off to fit. Remember: Efex mouldings can be trimmed to suit any project using a craft knife or a pair of scissors. Again, a beautiful piece. IMG_4514
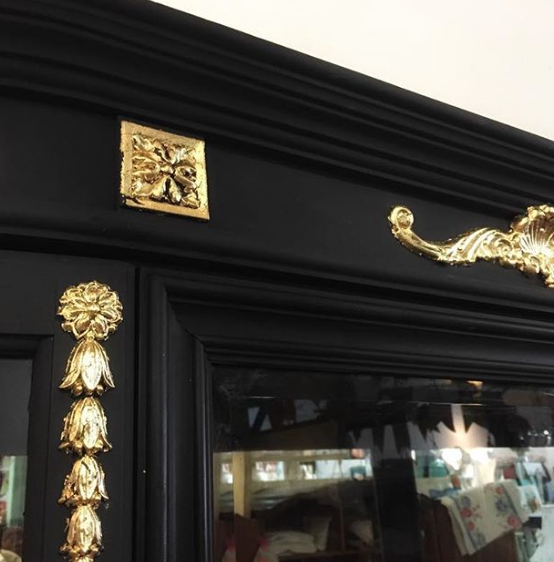
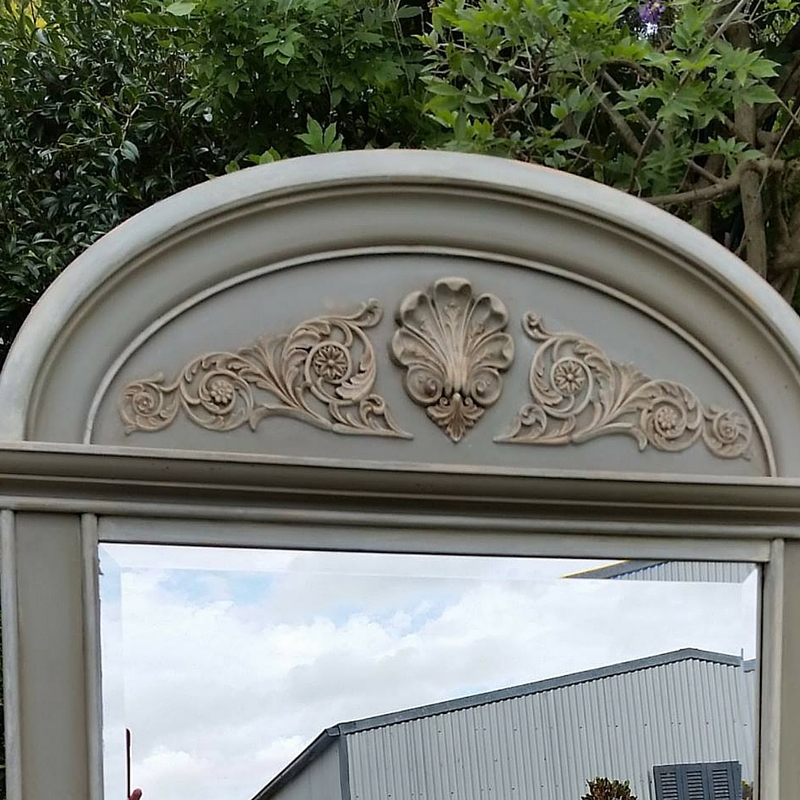
I have to admit I loved the bedroom so have used the frame as a minor player in this photo.  You can see the lovely bedhead, with the framed mirror above it mirroring the style of the central rosette on the bedhead. The bedhead rosette – while original on this piece – is identical to our R77 Rosette.

IMG_4520

A side table in the bedroom shows off what can be done if you combine the appliqués. Sharon used one of my favourite appliqués – Scroll SC03 – and paired it with one of our most popular Rosettes, R3, for a lovely feature on this table.  You’ll notice another of the most gorgeous rubbish bins in NZ nestled under the table! This was achieved with Bow B1 and perfectly highlights one of the most appealing characteristics of Efex — the are flexible, bending to fit a curved surface or even curving around an entire circular edge.

IMG_4524

The last piece (my favourite) is yet to come…

Mirror Revamp in New South Wales

Mirror Revamp in New South Wales

 Mirror Revamp Before and After

This mirror revamp says it all. We all love a great before and after. This one is so cute and so simple it just rocks. Alison Gregory of The Little French Provincial Shop has hit this latest mirror makeover right out the of park.1642648

Last year she found this little round table and took it from drab to fab.

1690465

Now see what she had done with this plain Jane mirror.

1400312_953556068090851_7483878115985946211_o

Oohh…that orange wood! Doesn’t it just make your skin crawl? The top was just calling out for a bit of embellishment.

The addition of scroll SC44, rosette R78, and a little bit of paint it turned into a beautiful elegant mirror that would look lovely in anyone’s entry hall or living room.

Untitled design-3

12829436_953554781424313_5993131160690220913_o-1
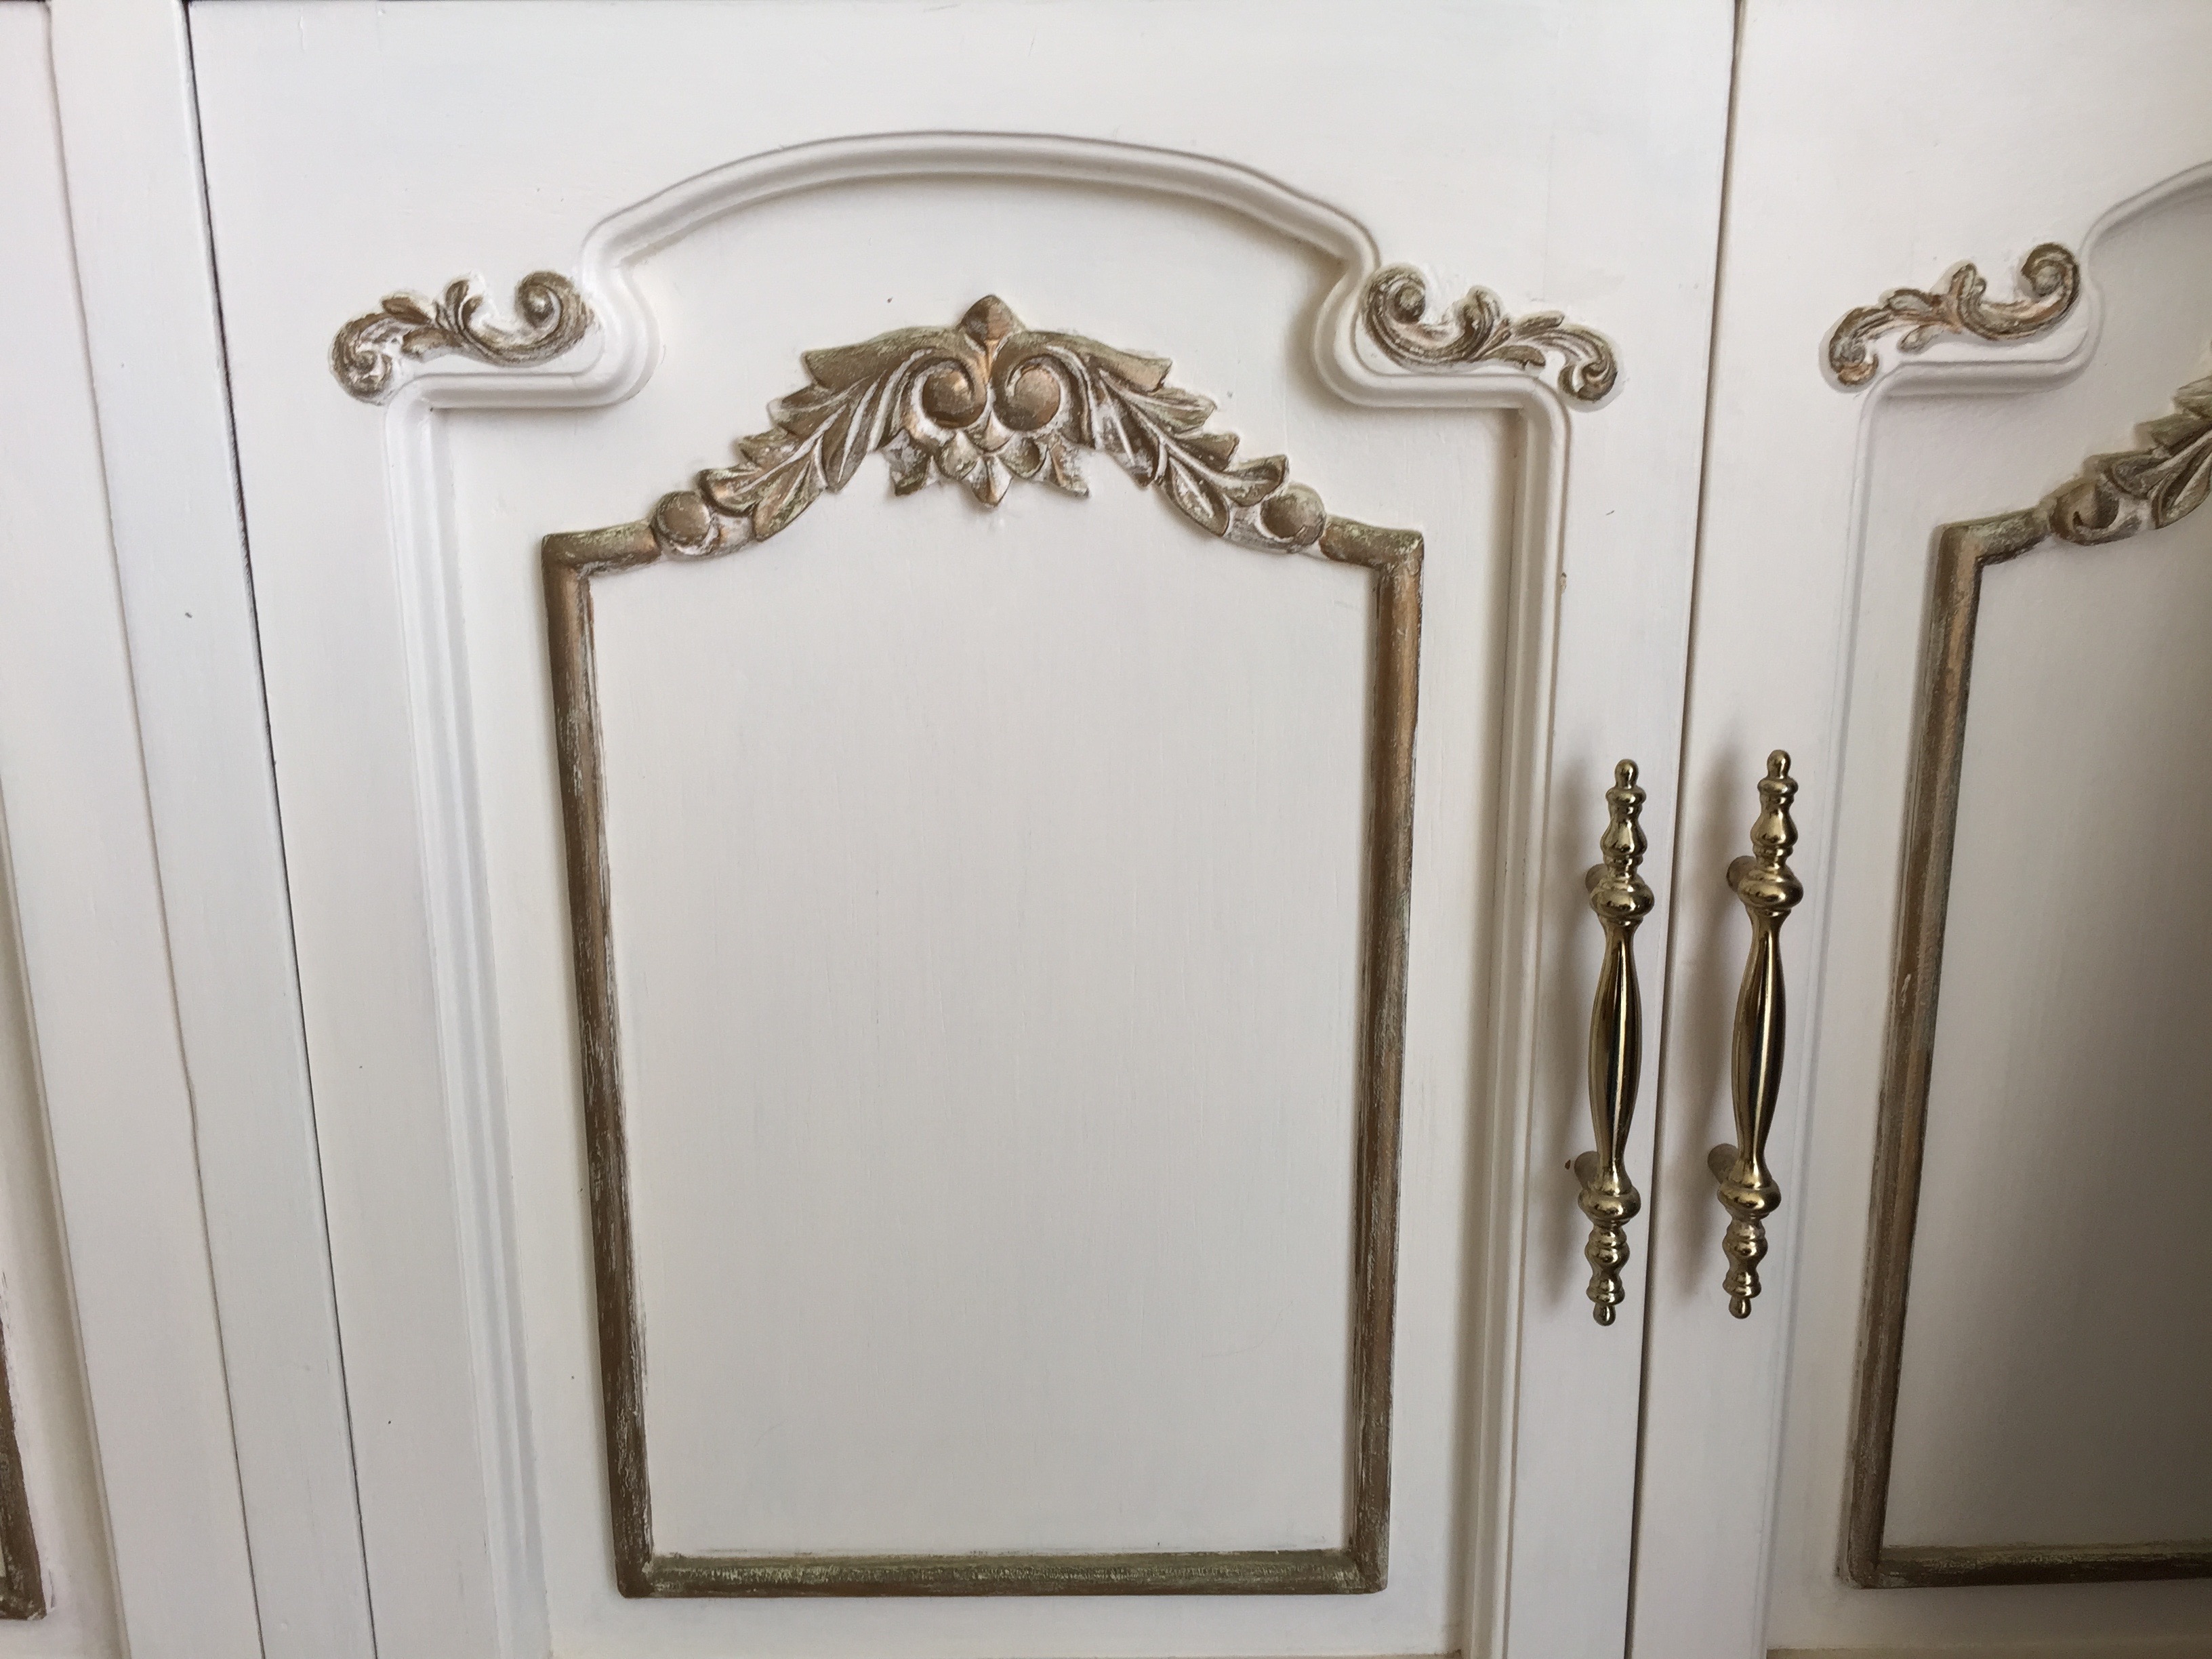
For those of you in New South Wales, Australia stop into Alison store. This wife and mother of two is addicted to all things French. Her great eye for detail lets her find good projects that are ready to be reloved.

From her blog her motto is  “You only live once… so live beautifully!” And boy does she do that with style!

Drab to Fab Bathroom Makeover

Drab to Fab Bathroom Makeover

It can sometimes seem like an overwhelming task to update a bathroom that lacks personality and character. Especially when you’re starting with stock materials that are bland and boring to begin with. You know, those vanities and cabinets that every contractor gets when doing a remodel? Yawn…

Well our retailer Robin Burpee of Chicken Coop Treasures in Kalamazoo, MI had the perfect remedy for plain bathroom cabinets. Here’s what she started with:

quick bathroom update

Oh yikes. Did we forget to mention Robin was updating the entire bathroom at the same time? Focus your attention on that cabinet on the wall. Look familiar? Have one in your home? Wood has its place, but every time we see this orangy fake wood it just makes us cry a little inside. Thank you, Robin, for showing us the light.

updating bathroom cabinets

After putting a coat of Manor White Mud Paint (which already made a HUGE difference!) Robin took 8 C7 corners and used them to dress up the inside corners of the cabinet doors.

painted bathroom cabinets

A little more paint and this cabinet is perfect!

painted bathroom cupboard quick bathroom update

Simple upgrades gave this bathroom a ton of personality and pizzaz. A once stock cabinet now looks like an expensive custom-made piece of furniture all thanks to some bendable latex corners.