
Gluing Efex
Gluing Efex is as easy as 1,2,3.
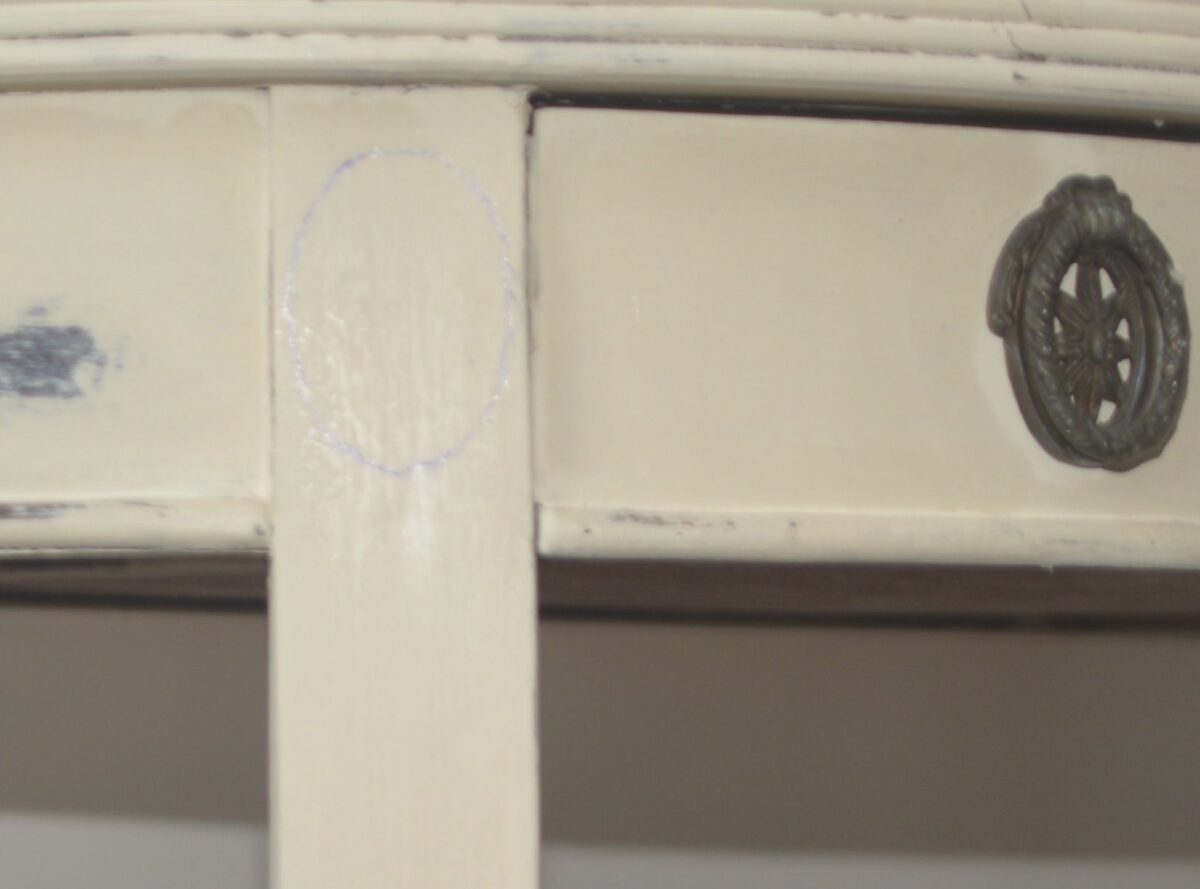
Step 1- pre-fit your moldings and trace the outline of the molding with a pencil or chalk.
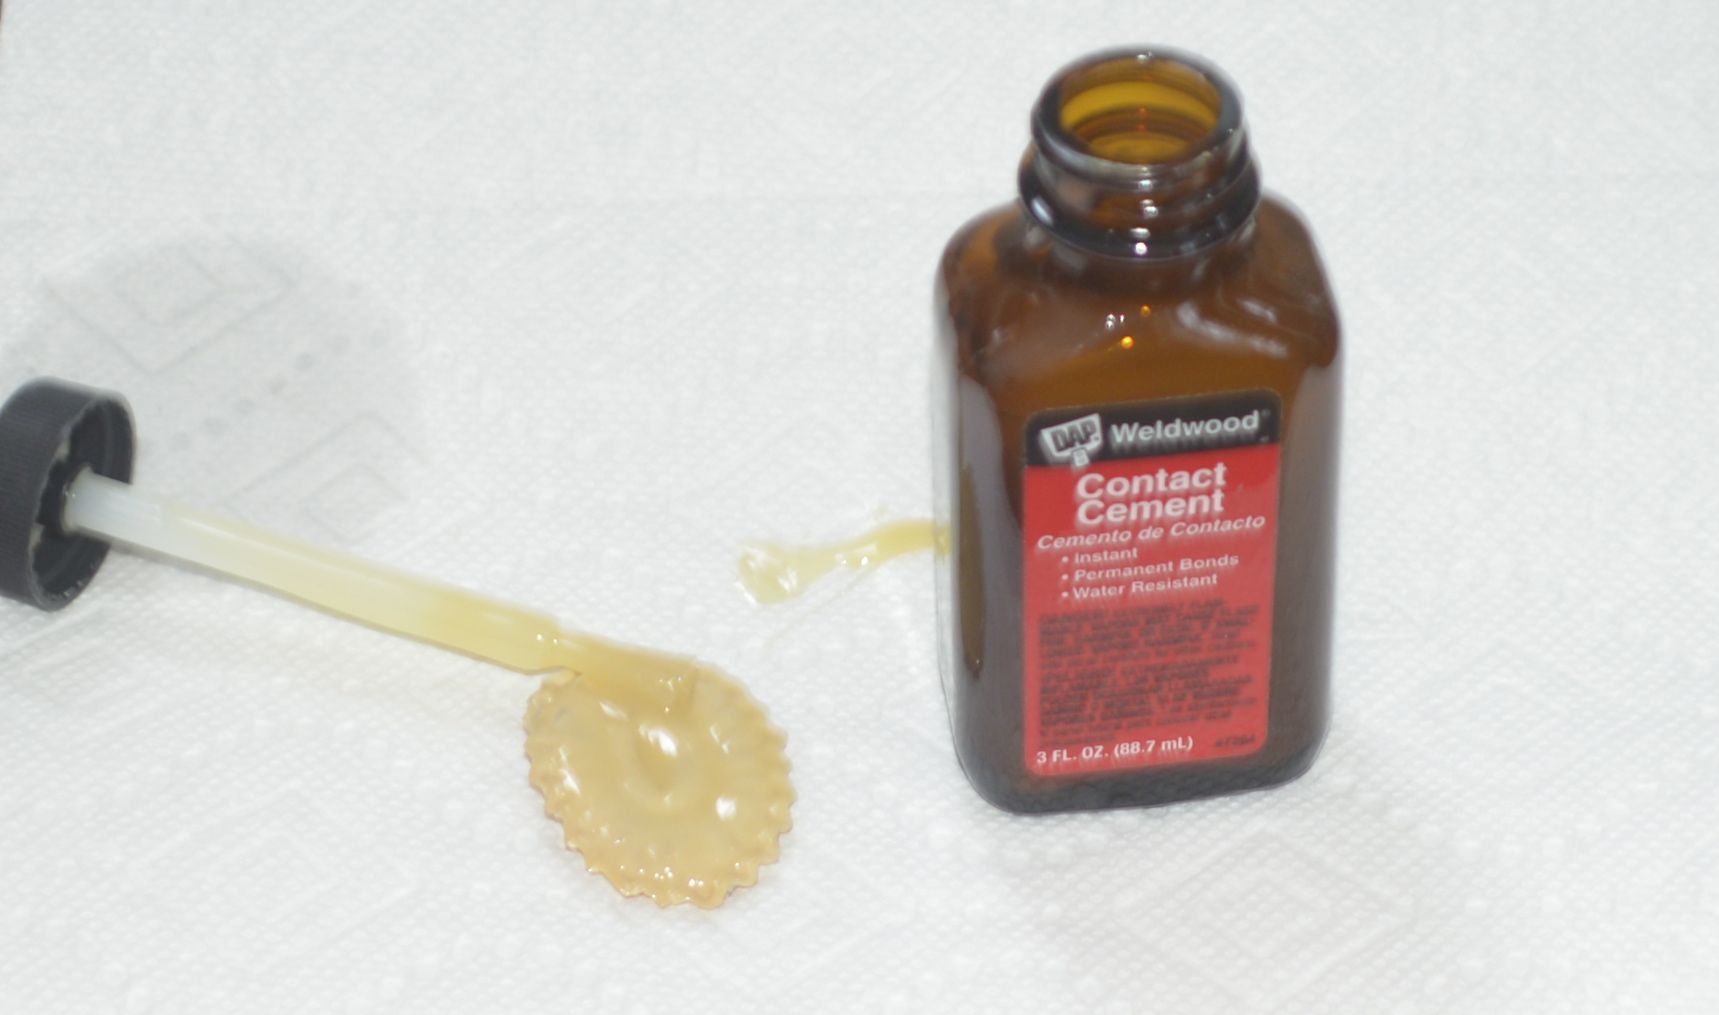
Step 2 – use contact cement to glue your Efex. This weekend we tested Dap Weldwood products from Lowes and both of them worked very well. I prefer the small bottle that comes with a brush, but the gel and a chip brush work just as well.
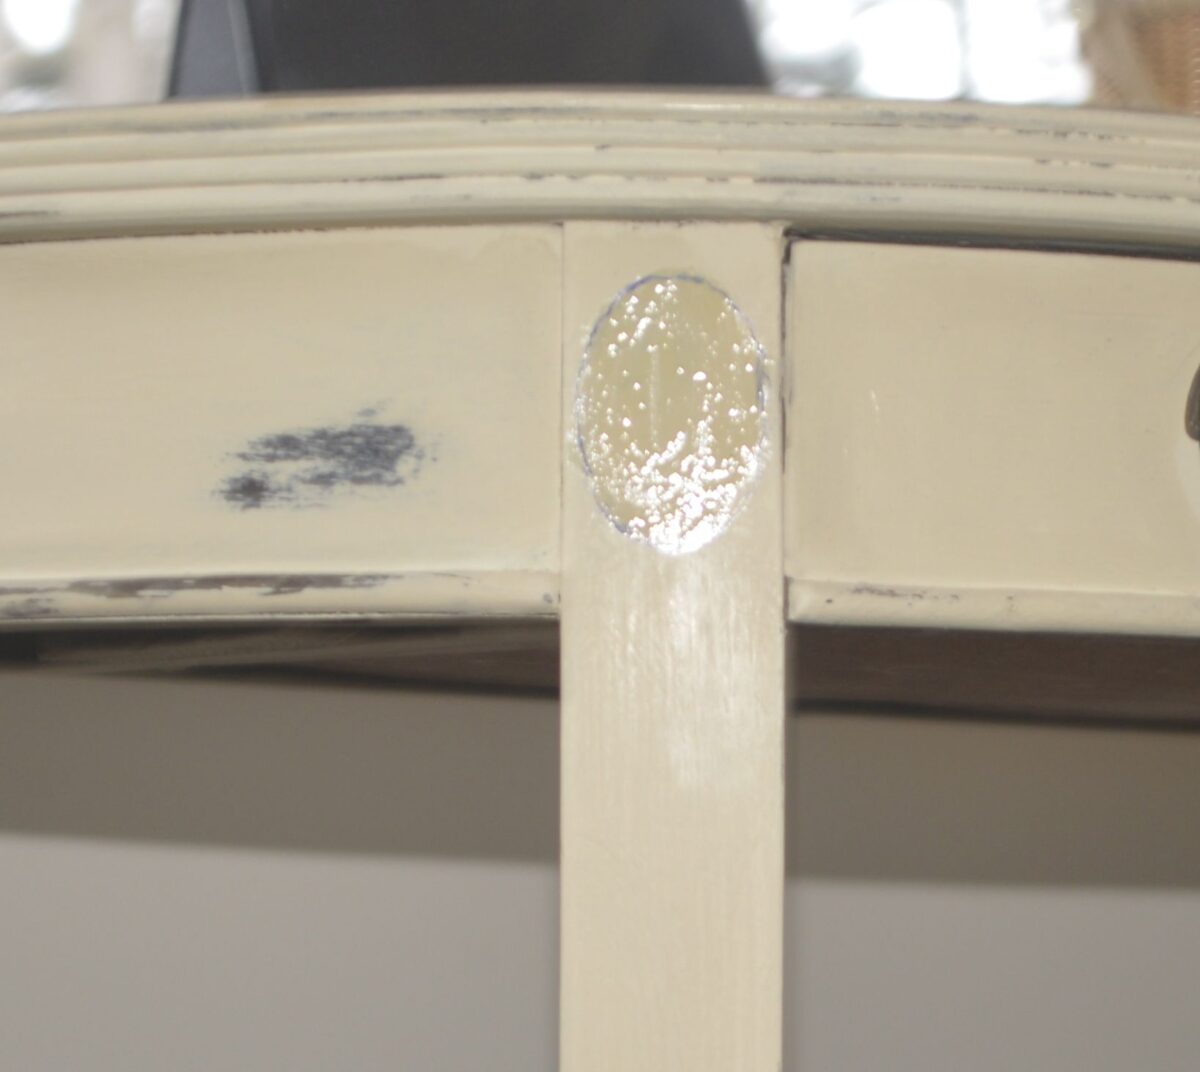
Step 3 – When using contact cement, you brush on the glue on the back side of the molding and on the surface you are attaching it to.
Step 4 – wait until the glue is just dry. Depending upon temperature and humidity this takes around 15 – 30 minutes. If the glue is still tacky you won’t get a great bond, so patience is key.
Step 5 – when the glue is dry to the touch, carefully press the molding onto the surface where the glue is. When gluing efex You want to aline the molding correctly the first time, because you don’t get a second chance. Press all of the edges and make certain they are attached.
Even when working on a horizontal surface, you don’t usually need clamps if you do then you either need to let the glue dry a little more, or push harder.
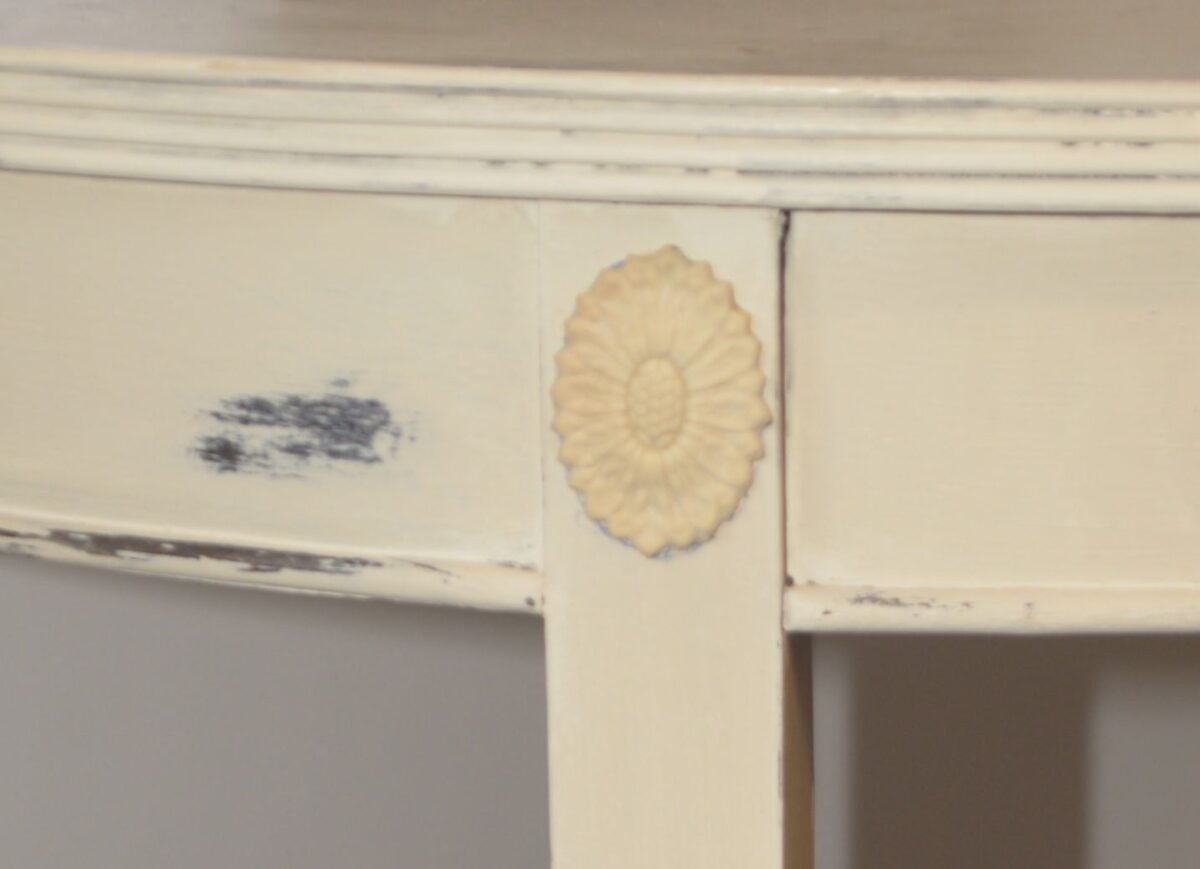
That’s it. Simple as that.
Wait for about an hour before applying paint or stain. Please remember to read all manufactures instructions. To clean up glue around the edges, use low VOC mineral spirits.
This week we will test other brands from other common hardware stores.