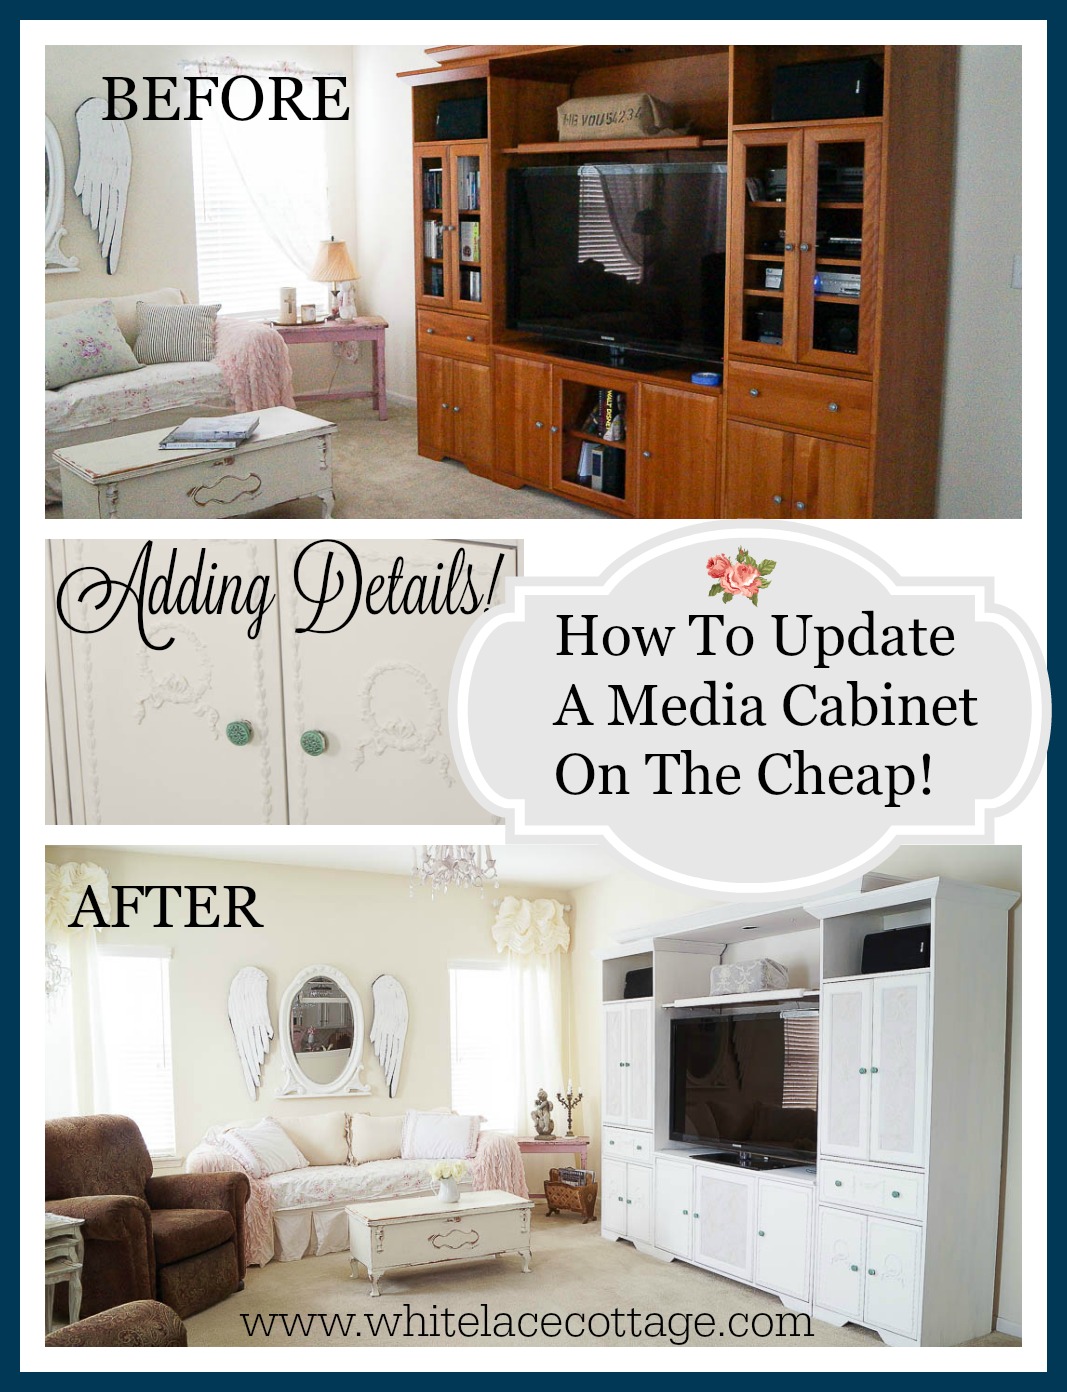
White Lace Cottage Media Cabinet
White Lace Cottage is one of our favorite bloggers. She had this idea for a revamp on her media cabinet. Wow… she hit it out of the park. We just love it. So without further adieu, here’s her post.
Thank you so much Anne!
Media Cabinet Update
Do you remember back in October I showed you all this.
Well, today I’m going to share my media cabinet update.
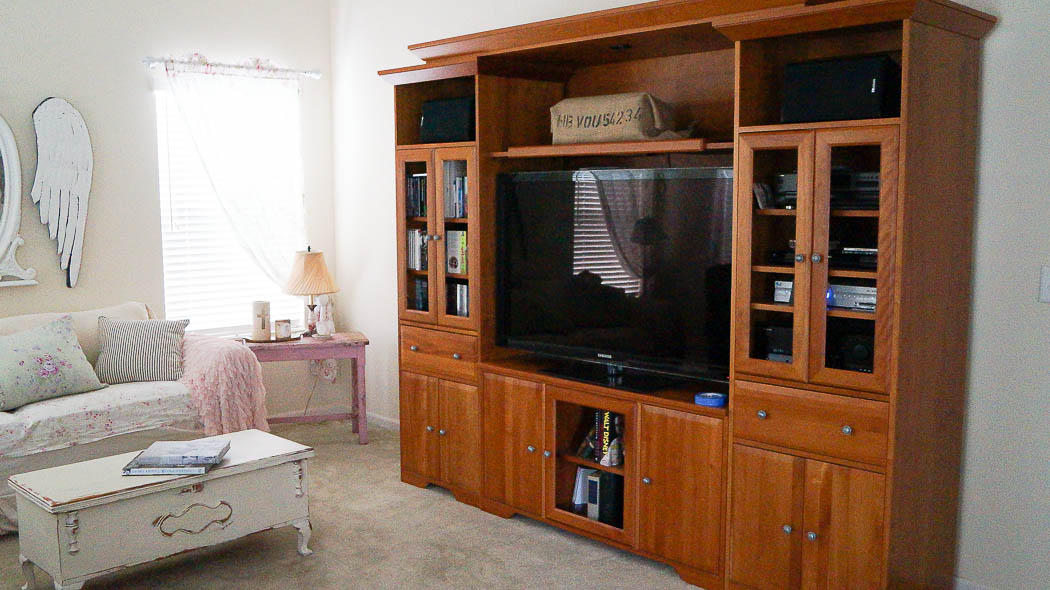
Here’s a photo of before.
As you can see it doesn’t quite fit with my decor.
And selling it to purchase a new one is not in our budget.
Sometimes you have to work with what you already have.
So, before I share our media cabinet update and what I did to this to make it fit into our home, let me first explain how this even came into our home.
Back in 2002 we purchased the surrounding towers of this piece, because we had a standing, big screen TV.
Do you remember those?
We needed something to hold all of our movies, we have many.
And our CD collection, yeah, we’re old school.
We also needed something to store the components and speakers.
My husband is pretty awesome, because I have total control of our home decor.
But, I had to let him have his big screen TV, so this media center fit the bill, at the time.
Fast forward to January of 2012, we had the worst snow storm that I can ever remember!
We broke all the records with the snowfall!
My husband caught the flu, and our big screen TV died!
Sometimes you don’t plan on things happening, and you just have to roll with the punches.
We didn’t have time to research for a new piece of furniture and a TV.
And getting around wasn’t easy with all the snow and cold!
So, we found a piece, made from the same company, that would work with our new TV.
Yes, I wish I could have changed it then, but there was no time.
We were weeks from the Superbowl, and my husband wanted a new TV pronto!
And, the piece of furniture had to be delivered before the TV arrived, that’s not easy as you know.
So, that’s why I bought this piece and why I still have it.
This will not be moving with us, and I needed to update it cheaply for the time being.

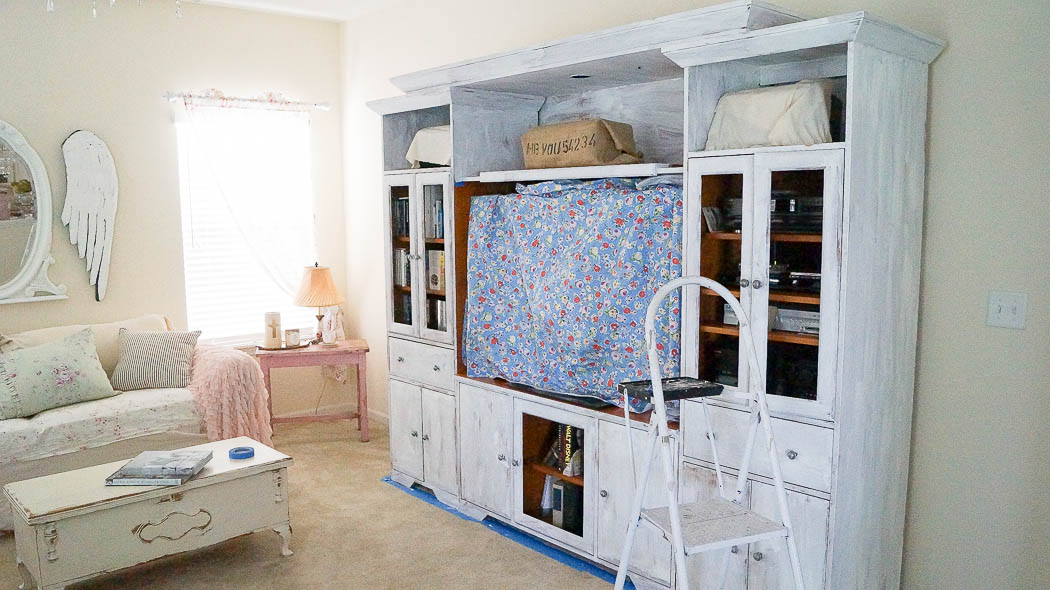
As you can see this is a huge piece, and it’s not easy to move around, especially on carpet.
I had to paint this inside, which meant taping the carpet so I wouldn’t get paint on it, and making sure to cover the TV well.
If I could, I would have used a sprayer, but I didn’t have a choice.
I painted three coats of White Lace on my cabinet.
The wood is pretty dark and you can see as the first coat went on it was streaky.
Where the TV sits, it was tricky to paint.
I had to turn the TV, paint one side, then do the same on the other side.
This is why I dreaded painting this in the first place!
When I was finished painting it I added the hardware and those appliques.
They are from Efex, you can order them HERE.
These appliques are so easy to use!
I added some of these to my kitchen cabinets a few years ago.
You can read my tutorial HERE.
After I added the appliques to my entertainment center, I needed to paint one more coat.
But only on the areas I added the appliques.
Once that was dry I added a top clear coat, for this I used aqua clear.
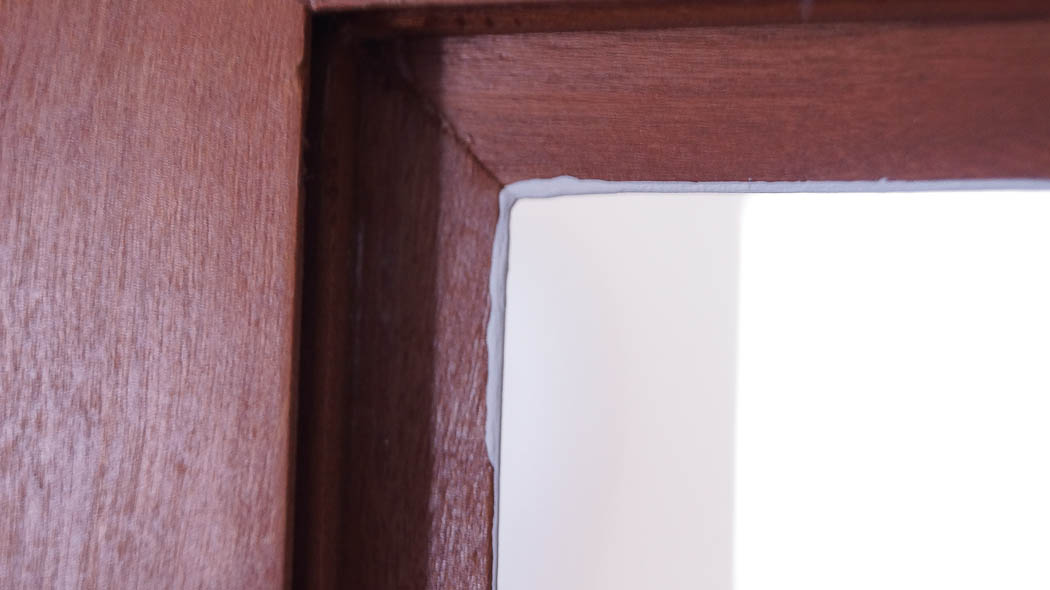
I still needed to address those doors.
I didn’t want to see the inside of my cabinets.
The doors had glass, with fabric behind it.
This was a temporary fix and not a good one!
The glass doors had a contemporary look to them, so I really couldn’t alter them and keep my look.
Instead I decided to add fabric.
And here’s how I did it.
I measured my doors from the inside, then cut out pieces of cardboard to fit on the inside of the door.
Then I laid the cardboard on top of quilt batting.
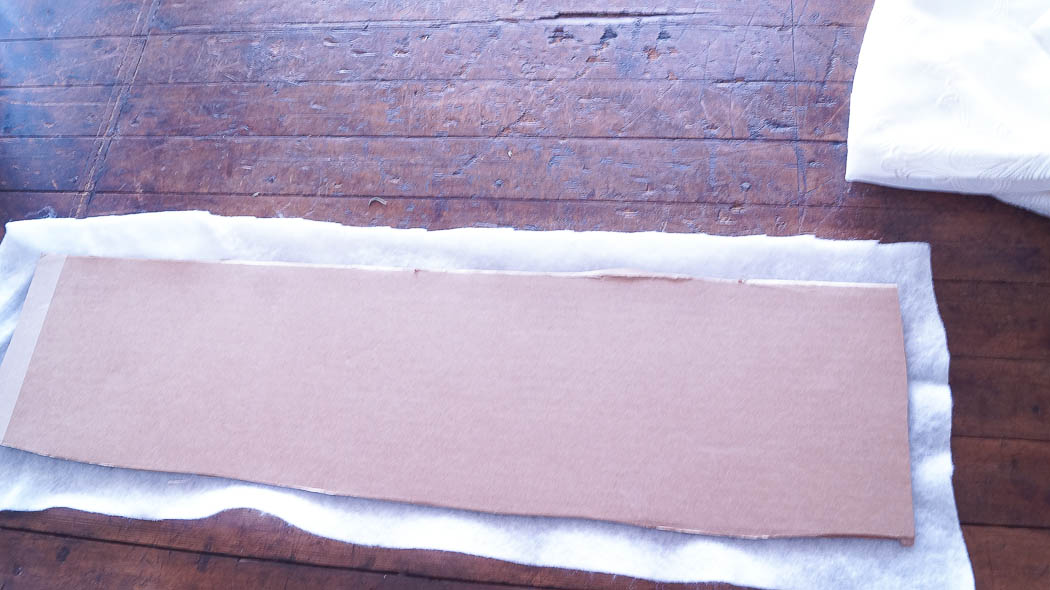
I then used my hot glue gun to attach the batting to the cardboard.

Next, I put my cardboard and quilt batting on top of my fabric.
Before gluing, I checked to make sure that the pattern would looked straight and in the correct direction.
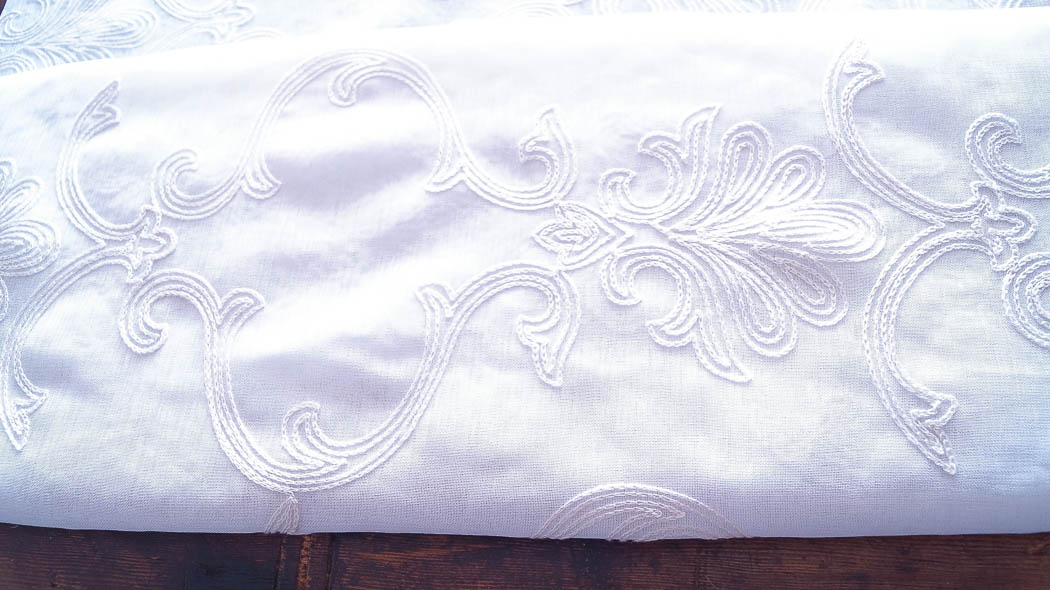
Isn’t this fabric pretty!
I love the soft look of this, and it’s not too busy.
But adds a soft touch to this media cabinet.
Then I glue it on to the cardboard.
I had to be careful not to stretch the fabric too much.
If I did, it would not have been even.
Because this is not going to be seen by anyone, I wasn’t really picky about how perfect it looked from the other side.
So, to finish it I added a piece of fabric I already had in my stash.
I just folded the fabric and glued it on.

You can see my fabric is wrinkled.
But as I said, no one is going to see this.
If I wanted to be really picky, I would have made sure the fabric was ironed, then glued it on.
And for a finishing touch add some fancy trim.
But hey, I’m not Martha Stewart and that’s just NOT how I roll 😉
Any who, I made sure that each panel matched exactly.
I didn’t want the patterns on each piece to look different.
Now that would have drove me bonkers!
Once I was finished with each panel, I used my hot glue and placed them inside each door panel.
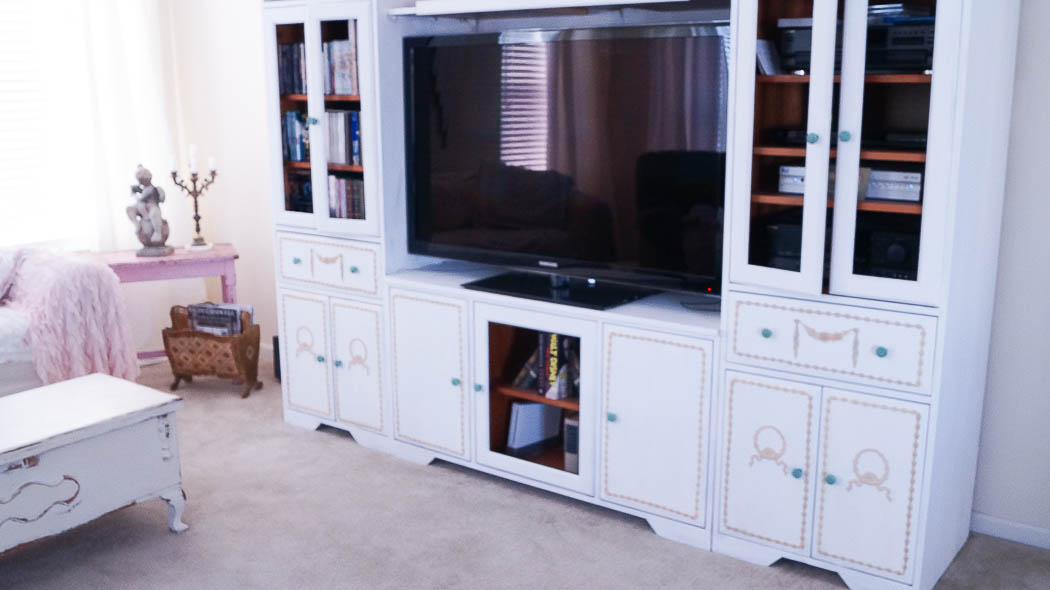
And here’s what it looks like now.
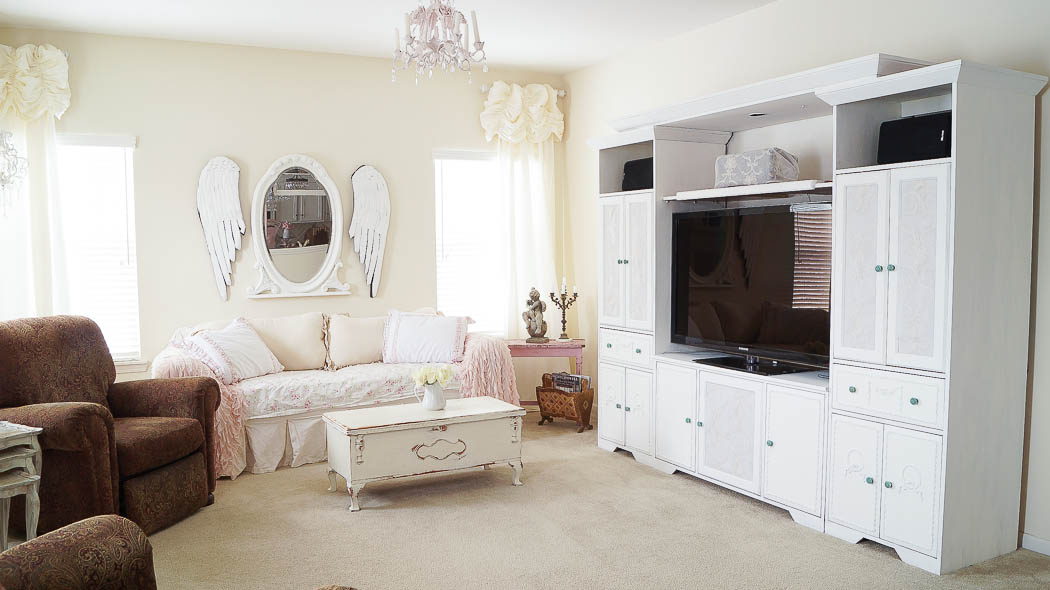
I can’t hide the TV or those speakers.
But for the top center speaker, I decided to wrap some of the fabric that I used on the doors, around the speaker.
Here’s a closer look at the door panel.
I love this fabric!
I bought the fabric from Hobby Lobby, it was on sale for 30% off!
The knobs are also from Hobby Lobby.
I found the knobs back in October, and they were 40% off.
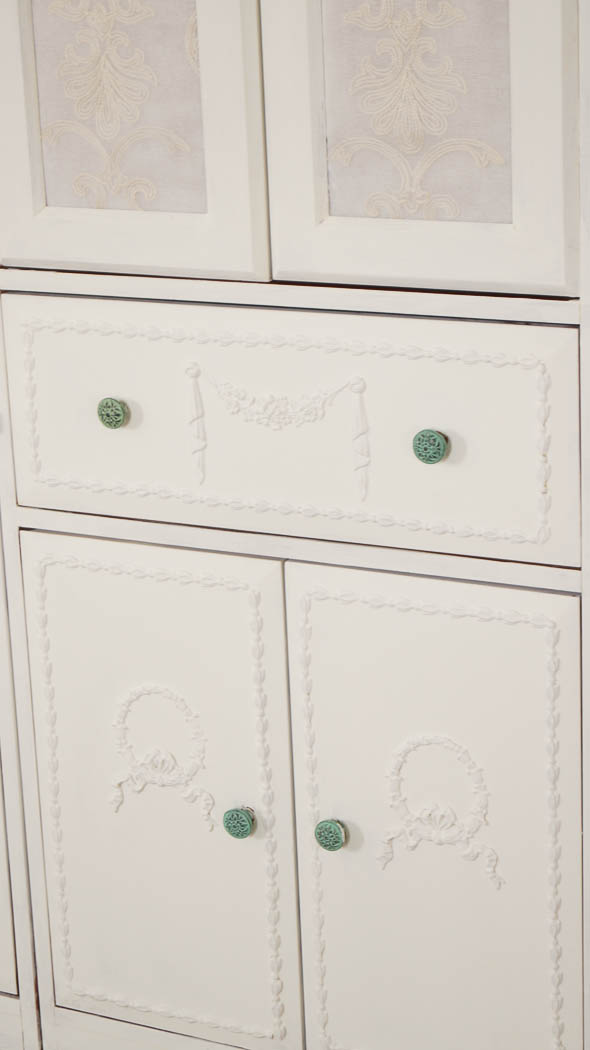
The details from the appliques adds so much on this cabinet.
Because this piece has a contemporary look, I couldn’t just paint it and distress it.
It wouldn’t have looked right.
It needed some details and that’s why I chose to add those appliques.
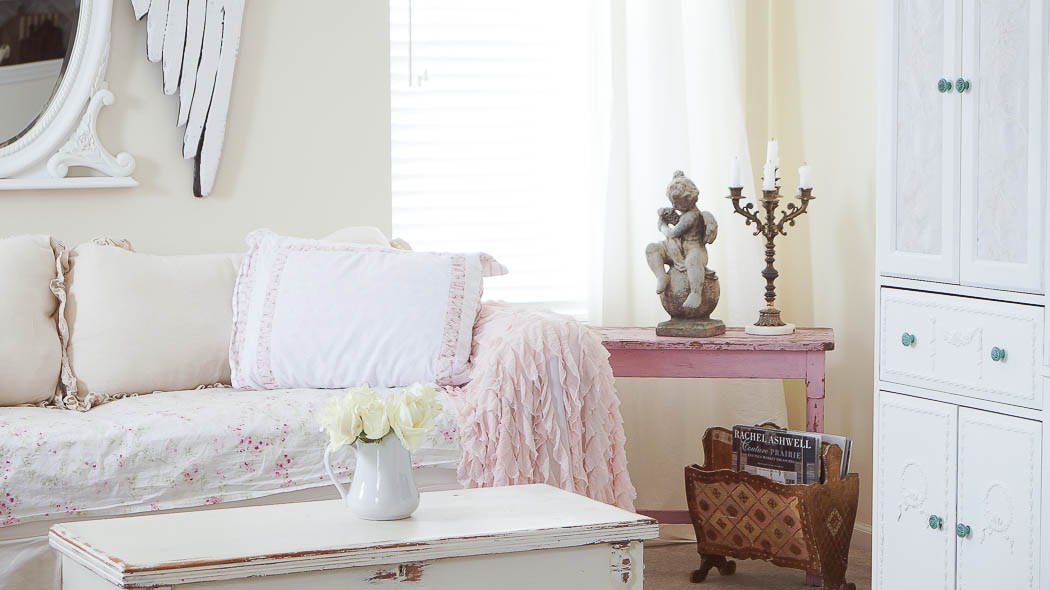
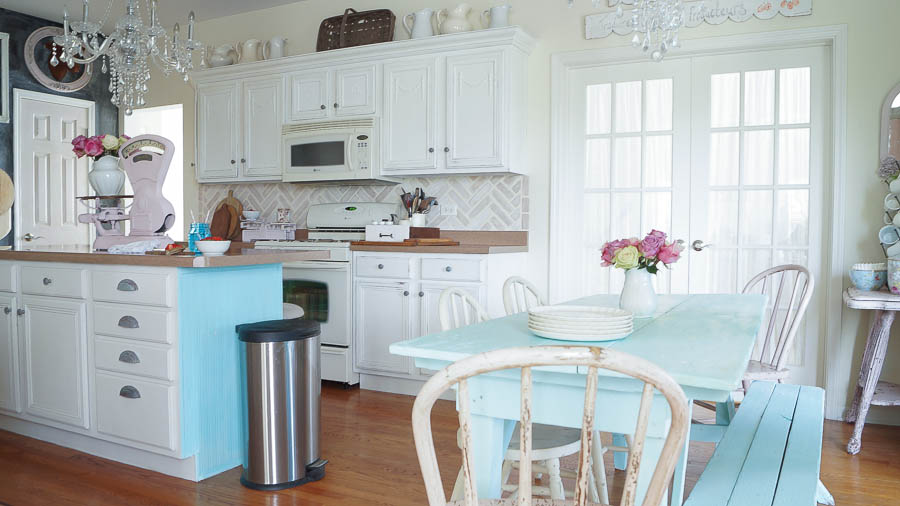
This room is not finished yet, I still need to address my furniture.
My sofa is disguised with a slipcover that doesn’t quite fit, and that’s why I’ve added the ruffles on each end.
Along with a Rachel Ashwell, shower curtain to the seat.
But, what what I really don’t like….the chairs……they are not my style at all!
We purchased them when we bought our home nine years ago.
Since we are going to downsize in the next couple of years, I really don’t want to purchase new furniture.
I’d rather wait until we know where we are moving too.
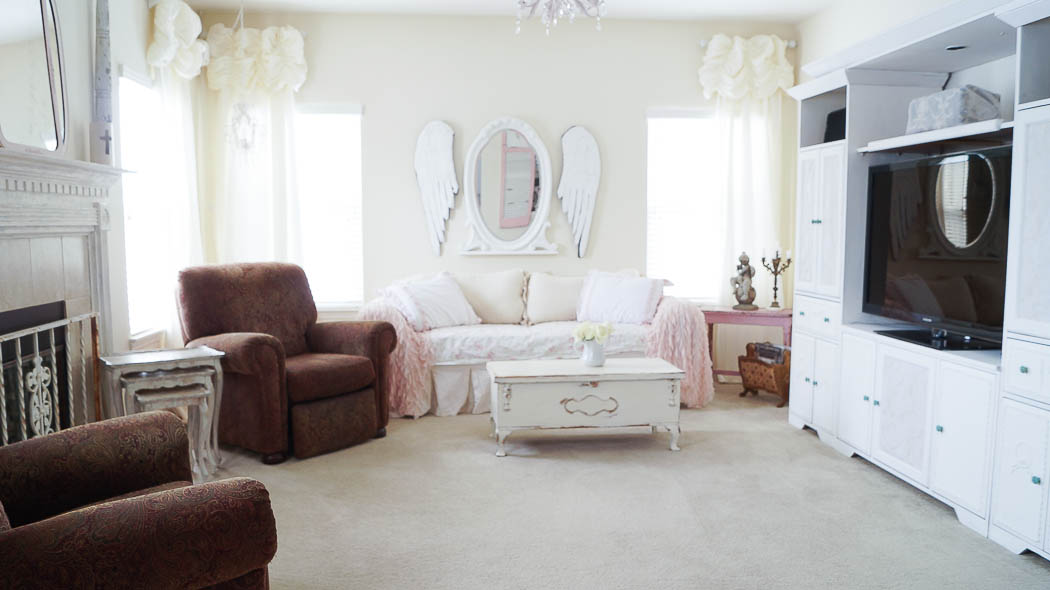
But, I need to make a change until that time.
I’m thinking of making my slip covers….gulp!
Or, purchasing them.
Since I’m thrifty, I need to do it on a budget!
None of these pieces are going to come with us when we move.
But sometimes you have to make do with what you already have.
And this was a very thrifty way to recycle a piece of furniture and update it.
Do you have any pieces of furniture that you would like to update?
Why not paint it?
So let’s compare before and after.