Aug 26, 2018
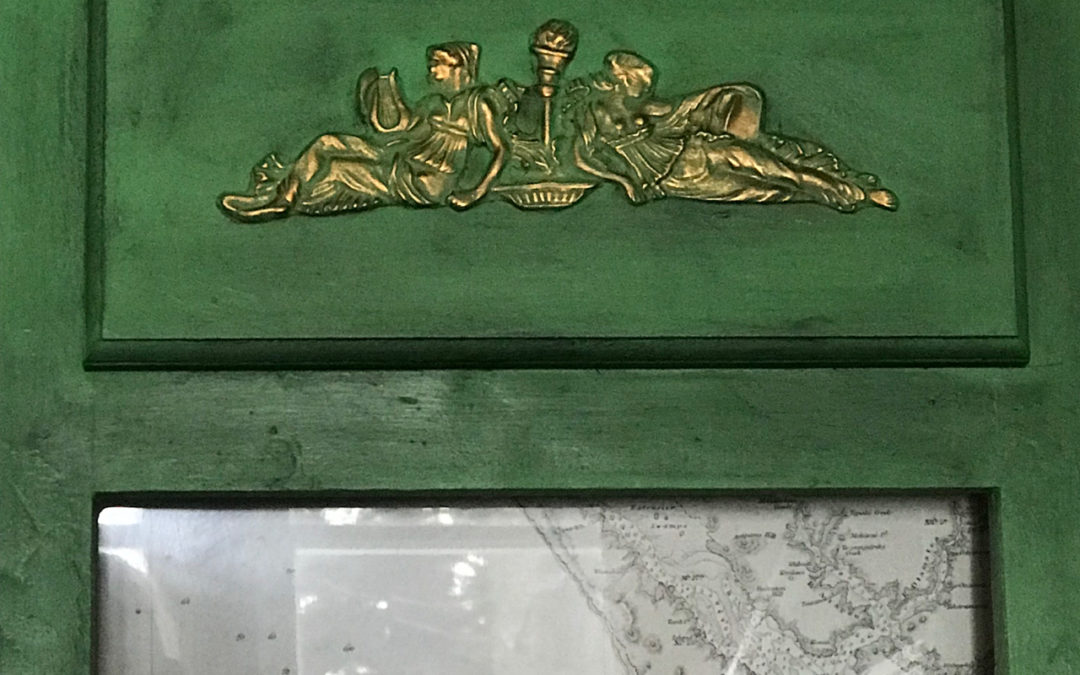
New Pediment on a Quick and Easy Trumeau Mirror
I love mirrors especially Trumeau mirrors. I also love projects that come together from start to finish quickly. So the other day I jumped at the chance to put together a quick and easy Trumeau.
1 – Start with a simple cabinet door and drawer combination. If the drawer on top is a fake one all the better. I found this one at our local restore for $5.00.
2 – Decide on your finish. In this case, I went for Annie Sloan Antibes Green and black wax.
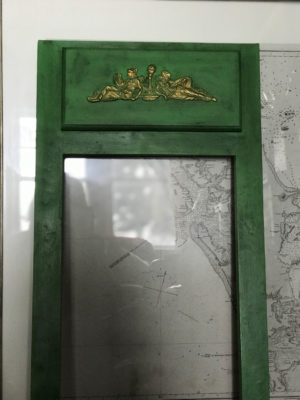
3 – Add one Efex pediment. I am showcasing our new P9. A lovely neo-classical pair of ladies playing harps while lounging.

4 – Finish the Efex with Renaissance Gilding Wax and add mirror or glass.
I did mention it was quick and easy.
xoxo Lydia

Apr 18, 2017
Efex on Fabric
Our clever friend in Montreal is at it again. This time with some striking and different uses for our appliques.
You see Johanne had this old sofa. Great french bones but the fabric was very outdated. Not in bad shape, just old fashion. Hmm… what’s a creative to do?
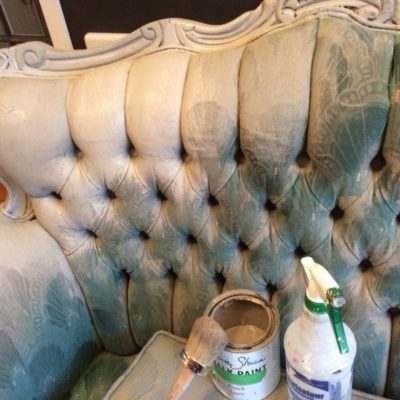
Well she started out painting the sofa. As an Annie Sloan stockist, she knew that to paint fabric successfully you need to water down the paint and put several coats on. The actually painting time is not that much, but you do have some drying time on a project like this.
Because she started with a dark green and textured fabric she had to take her time and let the project progress on it’s schedule.

She clearly had some time to think because her clever idea of adding Efex to the side of the fabric was wonderful.
After several coats of paint she finished the project by waxing the wood. No need to wax the fabric especially if it is textured.

Voila, a wonderful and unique sofa saved by Chalk Paint® and Efex
xoxox Lydia

Jul 5, 2016
Psst. Have you hear about General Finishes Design Challenge. Efex is proud to be a sponsor of the challenge that started on July 4th and will run through July 25th.
To celebrate this fun contest Lisa at General Finishes has done this wonderful Trumeau Mirror that we are thrilled to share with you today. The steps are easy and the result is drop dead gorgeous.
Here is the step by step instructions.
1- Prime with General Finishes Stain Blocking Primer.
2- Place Efex moldings and trace location with pencil.For the top and bottom of the mirror, she used T58 for the frame on the mirror she used T63. The center is SC2 and one of our bows B7.
3- Apply Contact Cement to board and Efex Molding, allow to dry 15 minutes. Place Efex Molding to traced area, press lightly and allow to dry.

4- Base coat with General Finishes Limestone Chalk Style Paint.
5- Add GF Limestone, Bone White and Empire Gray Chalk Style Paint to plate next to each other and randomly apply to mirror, in criss-cross fashion. Allow to dry.
6 – Add GF Limestone in watery coat with GF extender added to add a cohesive color layer to piece.
7- Apply GF Espresso Water-based wood stain with GF extender as a glaze coat, wipe off high spots. Gives it an aged look.

8- Apply GF Pearl Effects in Burnished Pearl to Efex moldings, wipe back to give aged look.
9- Apply GF High-Performance topcoat in Flat.


Jun 8, 2016
General Finishes Pearl Effects and Efex
General Finishes Pearl Effects on Efex. Honest…. no pun intended.
We are always looking for ways to give our Efex an antiqued old world look.
Yesterday, a box of GF Pearl Effects arrived at the barn and well… it was kind of like a kid at Christmas. With two hours to go before dinner guests arrived there was no time to plan anything formal. Hum… what’s a girl to do, wait and plan or just dive in? Diving was the answer and for two hours I manically mixed and matched random Efex in the barn for these samples.
With 6 colors General Finishes Pearl Effects (Argentine, Bronze, Burnished, Champagne, Copper, and Tawny) are a slightly metallic slightly pearlescent top coat that gives a special depth and shimmer to your projects.
Bronze – This P17 was already painted in layers of greens and blues and Bronze was the first can out of the box. The trim on this board, T63, is also an Efex cut to resemble an old door, the very top of the trims is also highlighted in bronze.

This lovely rosette R77 takes on a very different feel when done in the GF Bronze. Very regal and maybe a little gothic? This sample was painted directly over our latex appliqué without any undercoat. Did I mention I was excited to play with these finishes?

From Bronze to Copper the R14 was also previously layered in greens and blues. We simply added a copper topping and rubbed it back with a cloth to show the paint.

Champagne – By now the search is on for older projects to either repaint or just play with. The hunt turned up this R11 with a Grecian urn. The board was already painted white with a wax finish. A quick coat of champagne added a lovely pearlescent shine.

Burnished – The cute little corner pieces is done in Burnished which resembles a yellow gold. These corners would look lovely on furniture especially since Burnished is not a bright shinny gold.

Tawny – Another P17 was quickly painted in white with a light almost dry brushed coat of Tawny. You might not be able to see it on the sample picture but Tawny is an interesting almost kaki color with very subtle sheen.

Finally, a small piece of T34 our Acanthus Leaf trim got a quick coat of Florence Chalk Paint® then a light topping of Argentine which is a great silver color. Buy now the guest are pulling into the driveway so time to stop.

This morning, I modified the T34. While the silver straight up is delightful, it’s a new day and time to start layering some of the colors. Here more Argentine is added and then lightly stippled Tawny and a few Bronze highlights. Sigh… my favorite of the bunch.

My conclusion – General Finishes Pearl Effects are awesome on Efex.
Apr 5, 2016
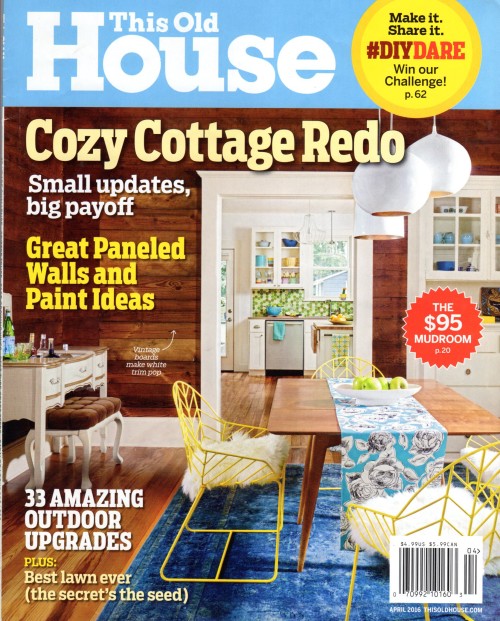
This Old House
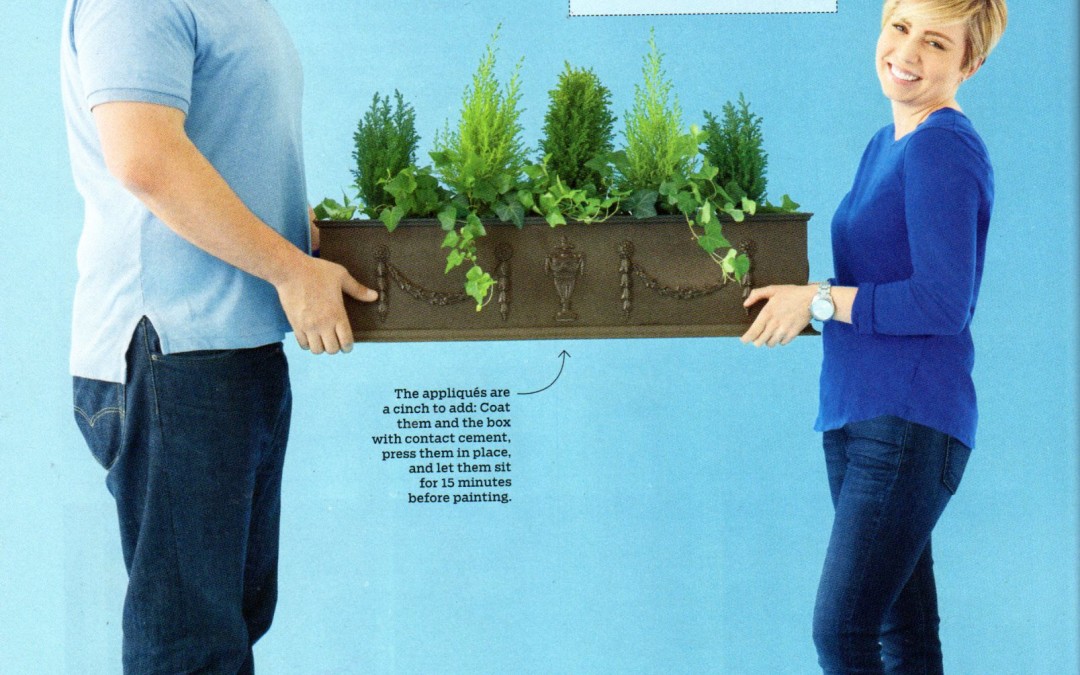
Exciting news! Efex has been featured in this month’s edition of This Old House as part of their #DIYDare Challenge.
Staff members were given a box of odds and ends which they had to make something out of. We were thrilled with the outcome of the team that was given our bendable moldings, check it out!
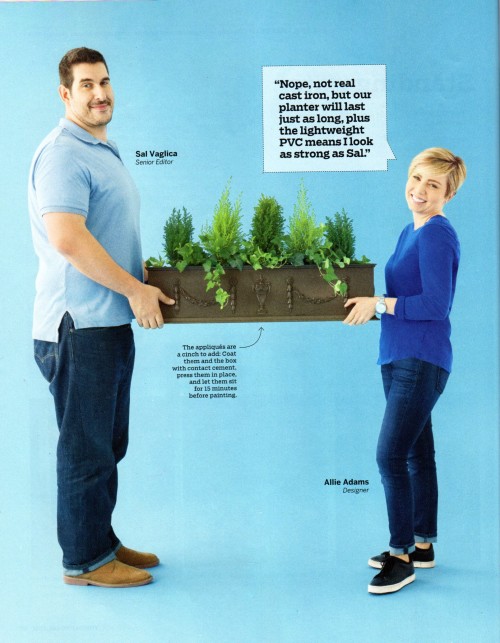
A cool planter made out of PVC, dressed up with an urn, swags, and drop moldings, and painted to look like cast iron. Very cool! You can see the instructions here, and there’s a good video too on the This Old House website.

Perfect spring project! Easy, quick, and big impact.
You can join in the fun too! Post your own projects using the tag #DIYDare on Facebook, Twitter, and Instagram to join in the fun! Full details below, be a part of the challenge!